Configure your QuickBooks Account
To enable Galvix to accurately calculate sales taxes and ensure compliance, you must configure your QuickBooks account to collect sales tax and correctly reflect the taxability of customers. This guide provides clear steps to disable the QBO sales taxes and update product and customer taxability rules in QuickBooks.
What can this guide help with?
- Disable Sales Tax in QuickBooks
- Set Up Products as Taxable in QuickBooks
- Set Up Customer Taxability and Exemptions
- Calculate taxes on Shipping
- Testing an invoice in QuickBooks for tax determination
- Sales Tax Handling by Galvix in QBO
- Next Steps
Disable Sales Tax in QuickBooks
It is important that the QuickBooks sales tax must be disabled in order to allow Galvix to be able to suggest tax-related fields. Leaving the QuickBooks sales tax 'On' can interfere with the Galvix tax engine that could lead to sales tax errors in the invoices.
Steps to Disable Sales Tax:
- In QuickBooks, go to Dashboard > Sales Tax (from the top navigation bar). Click on Sales Tax Settings
- Click on Turn off sales tax to turn of the QBO sales tax engine.


If you see Turn on sales tax button on this page in your QuickBooks account, it means that sales tax is already disabled. And no action is needed.
Set Up Products as Taxable in QuickBooks
All Products & Services in QuickBooks must be marked as Taxable for Galvix to be able to determine the correct tax rates for the product/service.
Even if the Product/Service is non-taxable in nature, it should be marked as Taxable in QuickBooks. Galvix will use the tax category of the product/service based on tax category defined within Galvix and calculate zero tax on such items.
Products & Services Taxability
To update the taxability for a product or to create a new product with taxable preference, follow these steps -
- Navigate to Sales → Sales & Get Paid → Products & Services in your QuickBooks account
- Create a new product or edit an existing one
- Update the Sales tax field to Taxable—based on location only > Click Done
- Save the changes
All items in the Products and Services list should show tick mark.

This will help Galvix identify and calculate the exact tax rates for the invoice item based on the tax category assigned to the product/service in Galvix.
Set Up Customer Taxability and Exemptions
Galvix relies on the Tax Preference setting in QuickBooks to determine whether a customer is taxable or exempt. By default, customers should be marked as taxable unless they provide a valid exemption certificate (e.g., for government entities, schools, or nonprofits). Review all existing customers in QuickBooks to ensure accurate settings.
Taxable Customers
To review the taxability for a customer or to create a new customer with a taxable preference, follow these steps -
- Navigate to Sales → Customer Hub → Customers in your QuickBooks account
- Create a new customer or edit an existing one
- Under Additional info, uncheck This customer is tax exempt
- Save the changes

Galvix will apply this tax preference to ensure the correct sales tax is charged to the customer’s transactions.
Handling Tax Exemptions
Sales tax exemptions are a criteria that allow customers not to pay sales tax. Often, these customers are government entities, schools, or non-profit organizations. The customer must provide a valid exemption certificate confirming their status. If you have such customers who are exempt from sales tax, you must update their taxability status to 'Tax Exempt' in QuickBooks.
To review the taxability for a customer or to create a new customer with 'Tax Exempt' preference, follow these steps -
- Navigate to Sales → Customer Hub → Customers in your QuickBooks account
- Create a new customer or edit an existing one
- Under Additional info, check This customer is tax exempt
- Select appropriate Reason for exemption
- Save the changes

Galvix will apply zero sales tax to transactions for exempted customers.
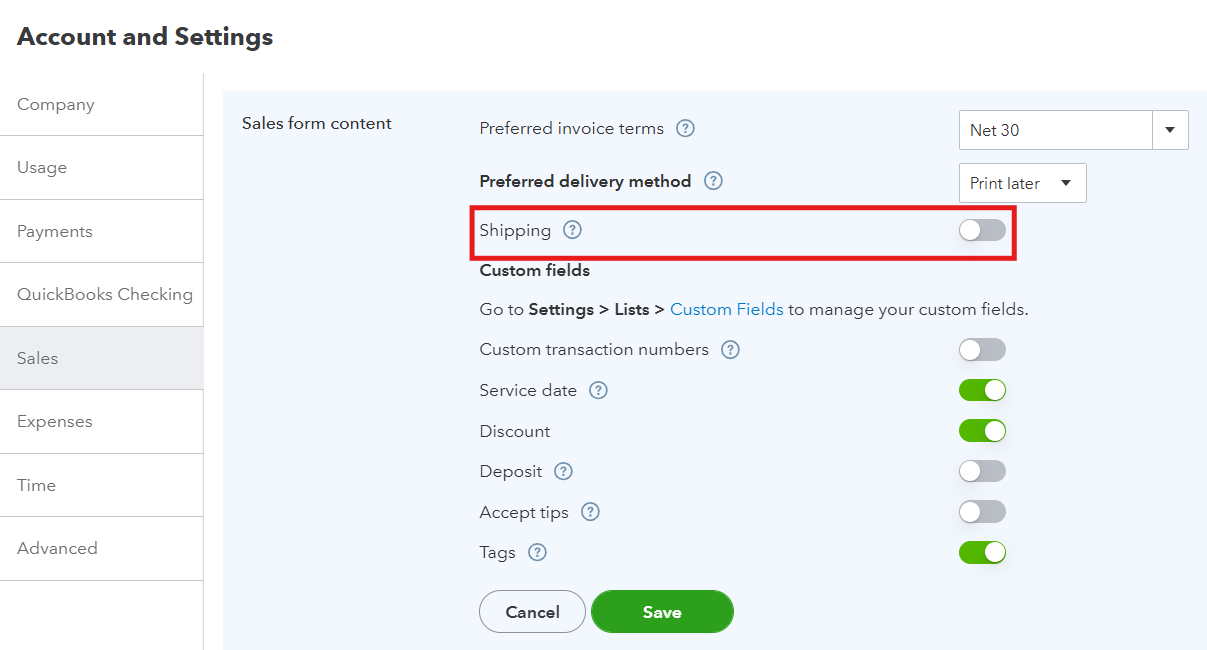
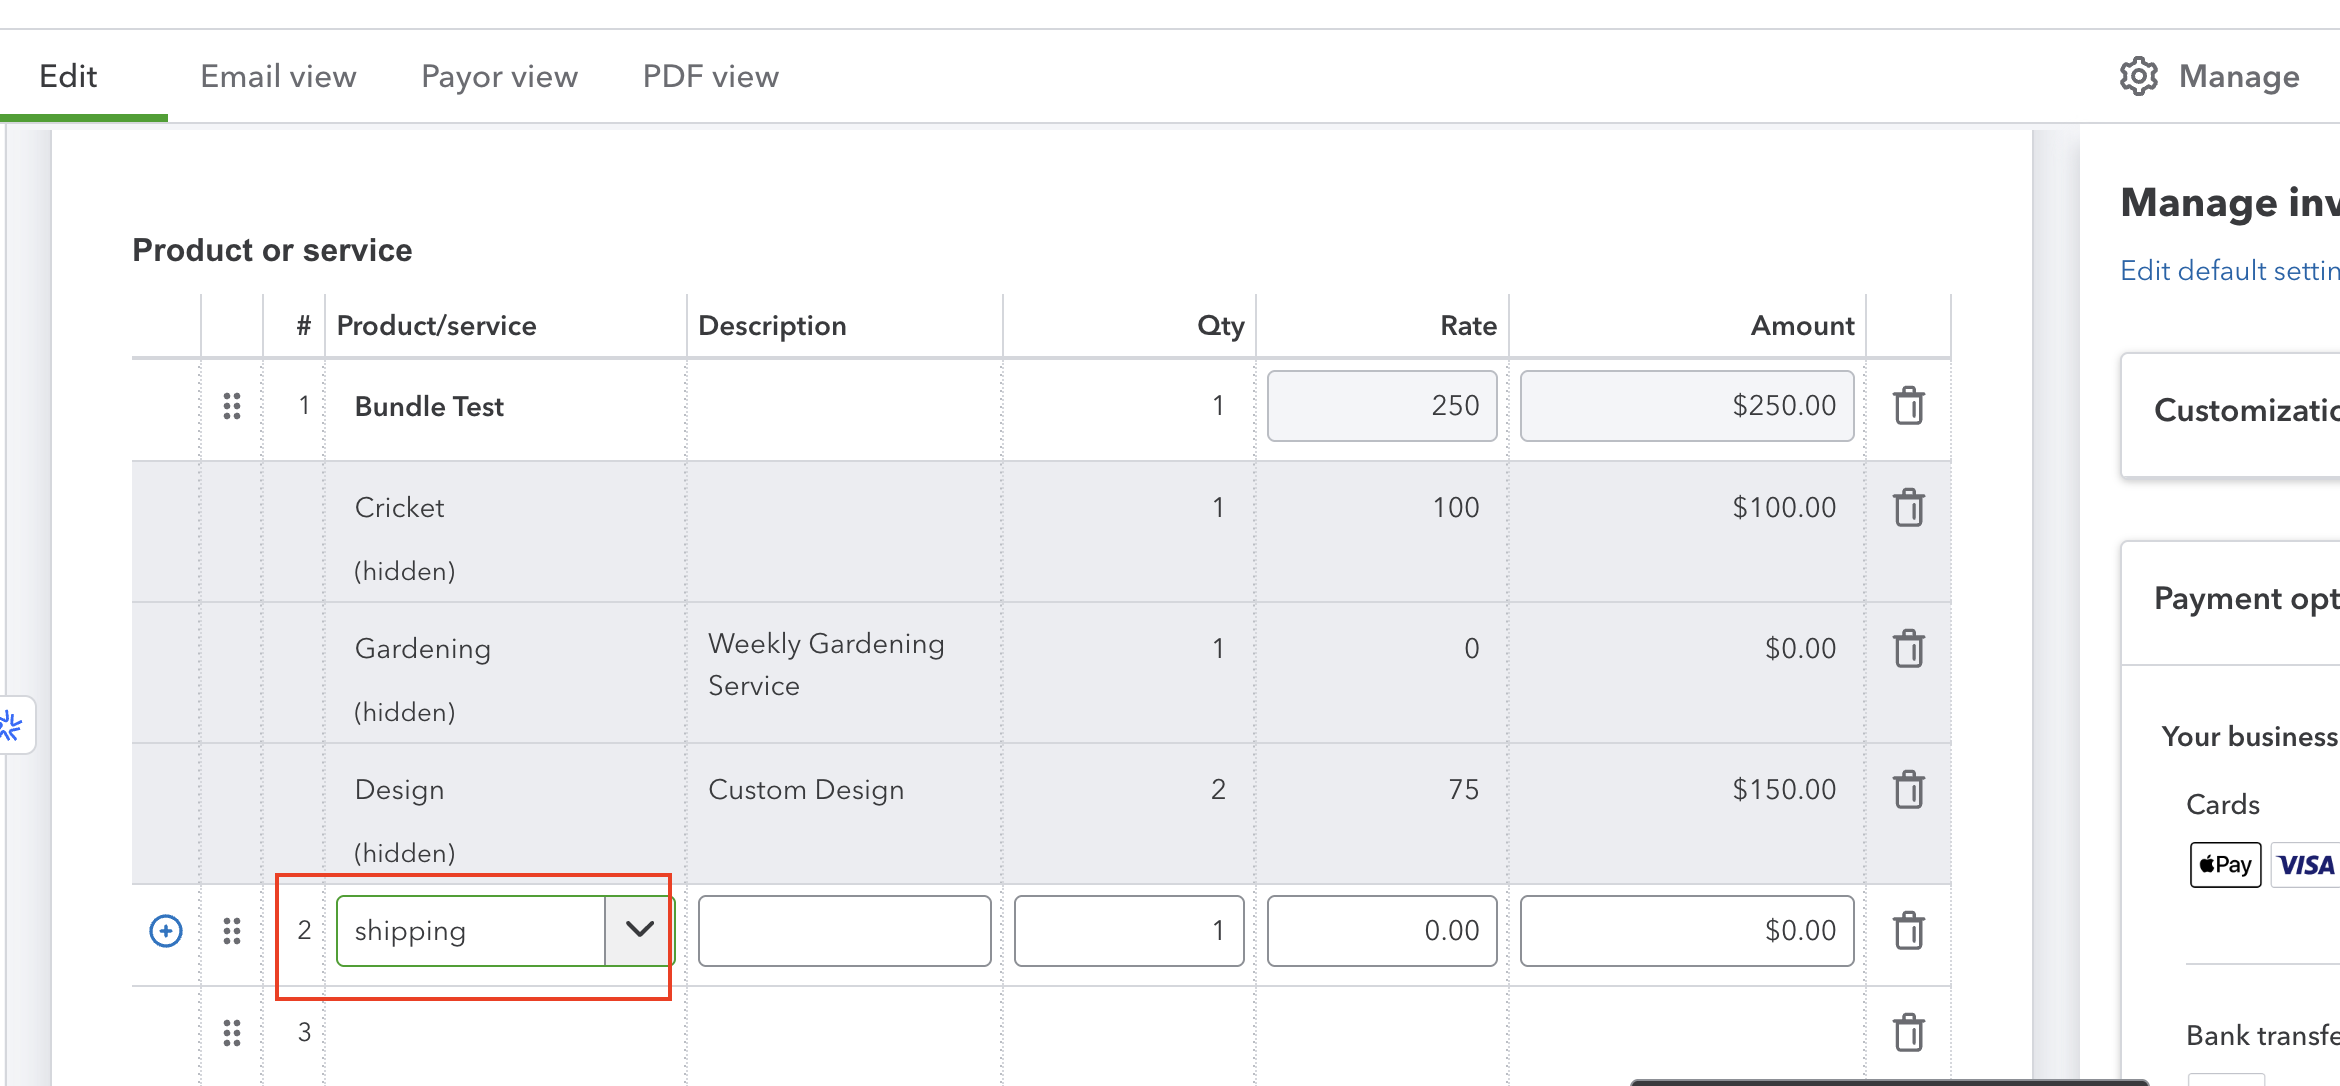
Calculate taxes on Shipping
To allow Galvix to determine and calculate taxes on shipping-related costs, you will need to create a service item in QuickBooks, as they have a system limitation preventing tax calculations on shipping fees by default (reference article). Also, shipping will be required to be added as a line item to your invoices.
-
Disable Default Shipping in QBO:
- Go to Settings > Account and Settings > Sales > Sales Form Content
-
Under Shipping, turn off the radio button to disable QuickBooks’ default shipping feature
-
Add Shipping as a Taxable Service Item:
- In QuickBooks, create a new Service item named “Shipping” (under Products/Services).
-
Assign the relevant tax category to Shipping in Galvix
For Galvix to determine correct tax rates based on taxability rules for your Shipping method, it is important to accurately map the tax category for the item in Galvix.
- In Galvix, go to the Products section
- Search for the Shipping item using the name used when creating the Product in QuickBooks
- Click on the item to update the tax category
- Click on Update Tax Category
- Under Tax Category, select the most appropriate shipping tax category
- Click Save
-
During invoice creation, add this item as a line item with the shipping amount.
Testing an invoice in QuickBooks for tax determination
Once you have completed connecting QuickBooks to your Galvix account and configured your QuickBooks account as per the steps suggested above, we suggest Issuing a test invoice or credit note in QuickBooks to test tax determination and ensure everything is working as expected.
Steps to Create an Invoice:
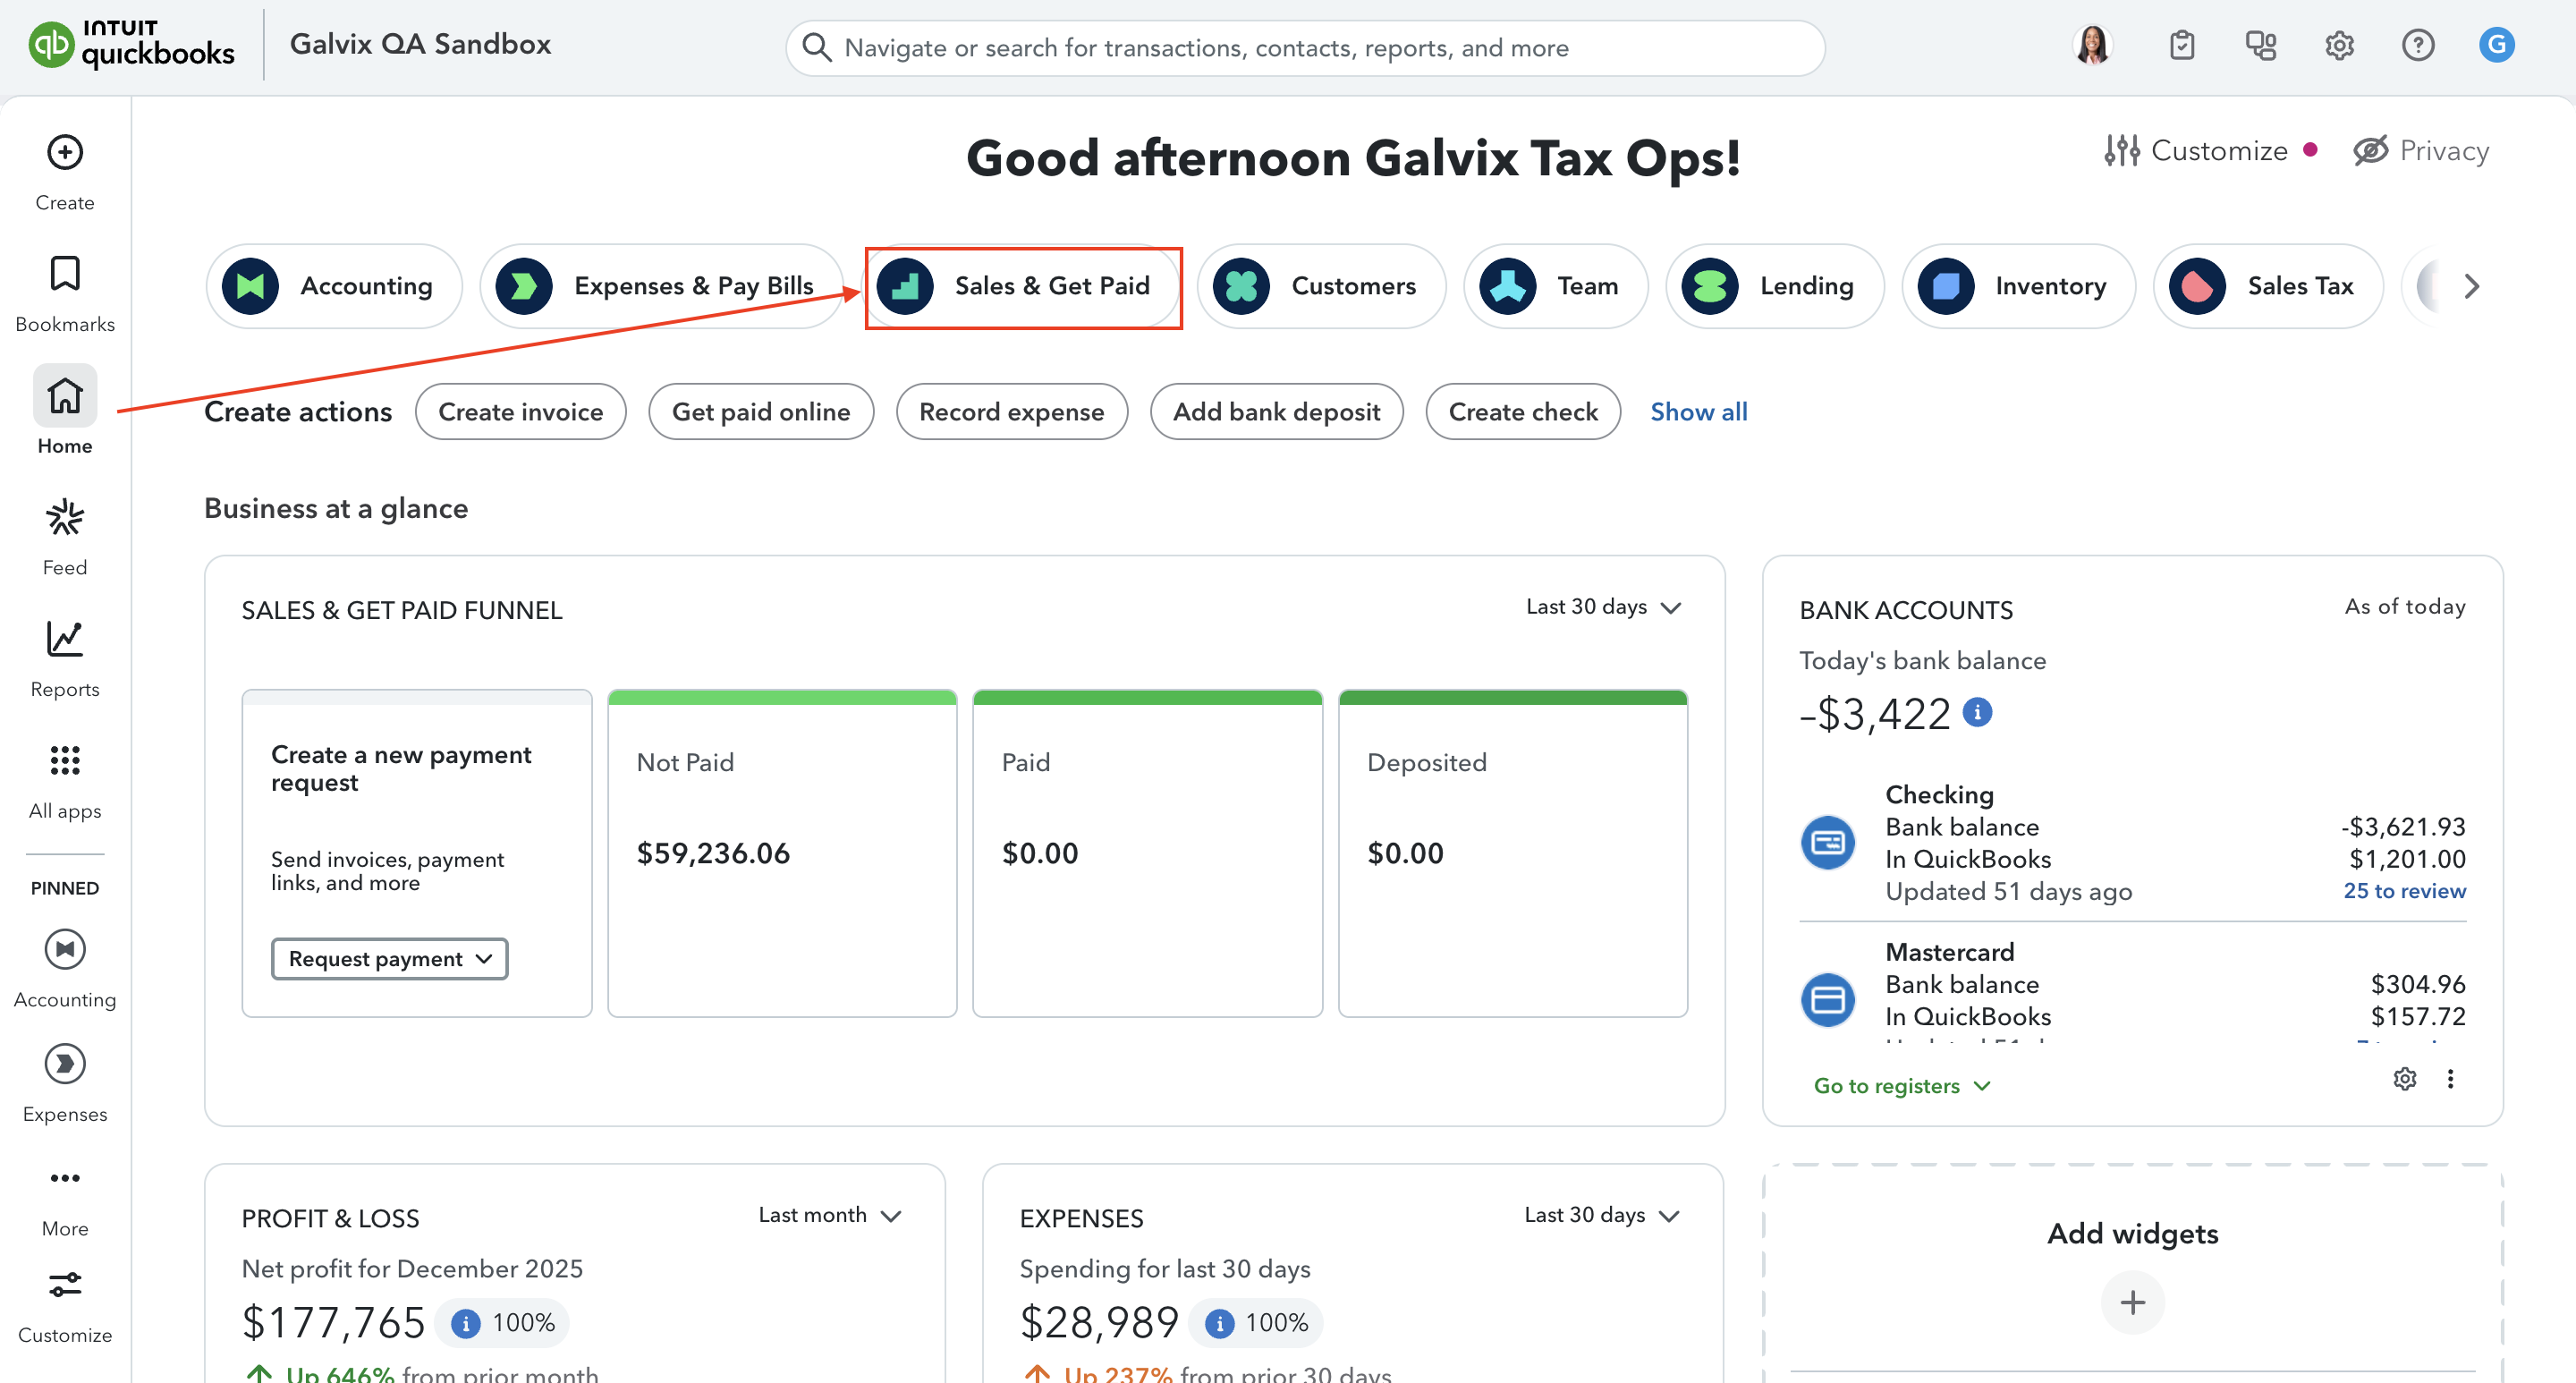
- In QuickBooks , from Home, go to Sales & Get Paid.
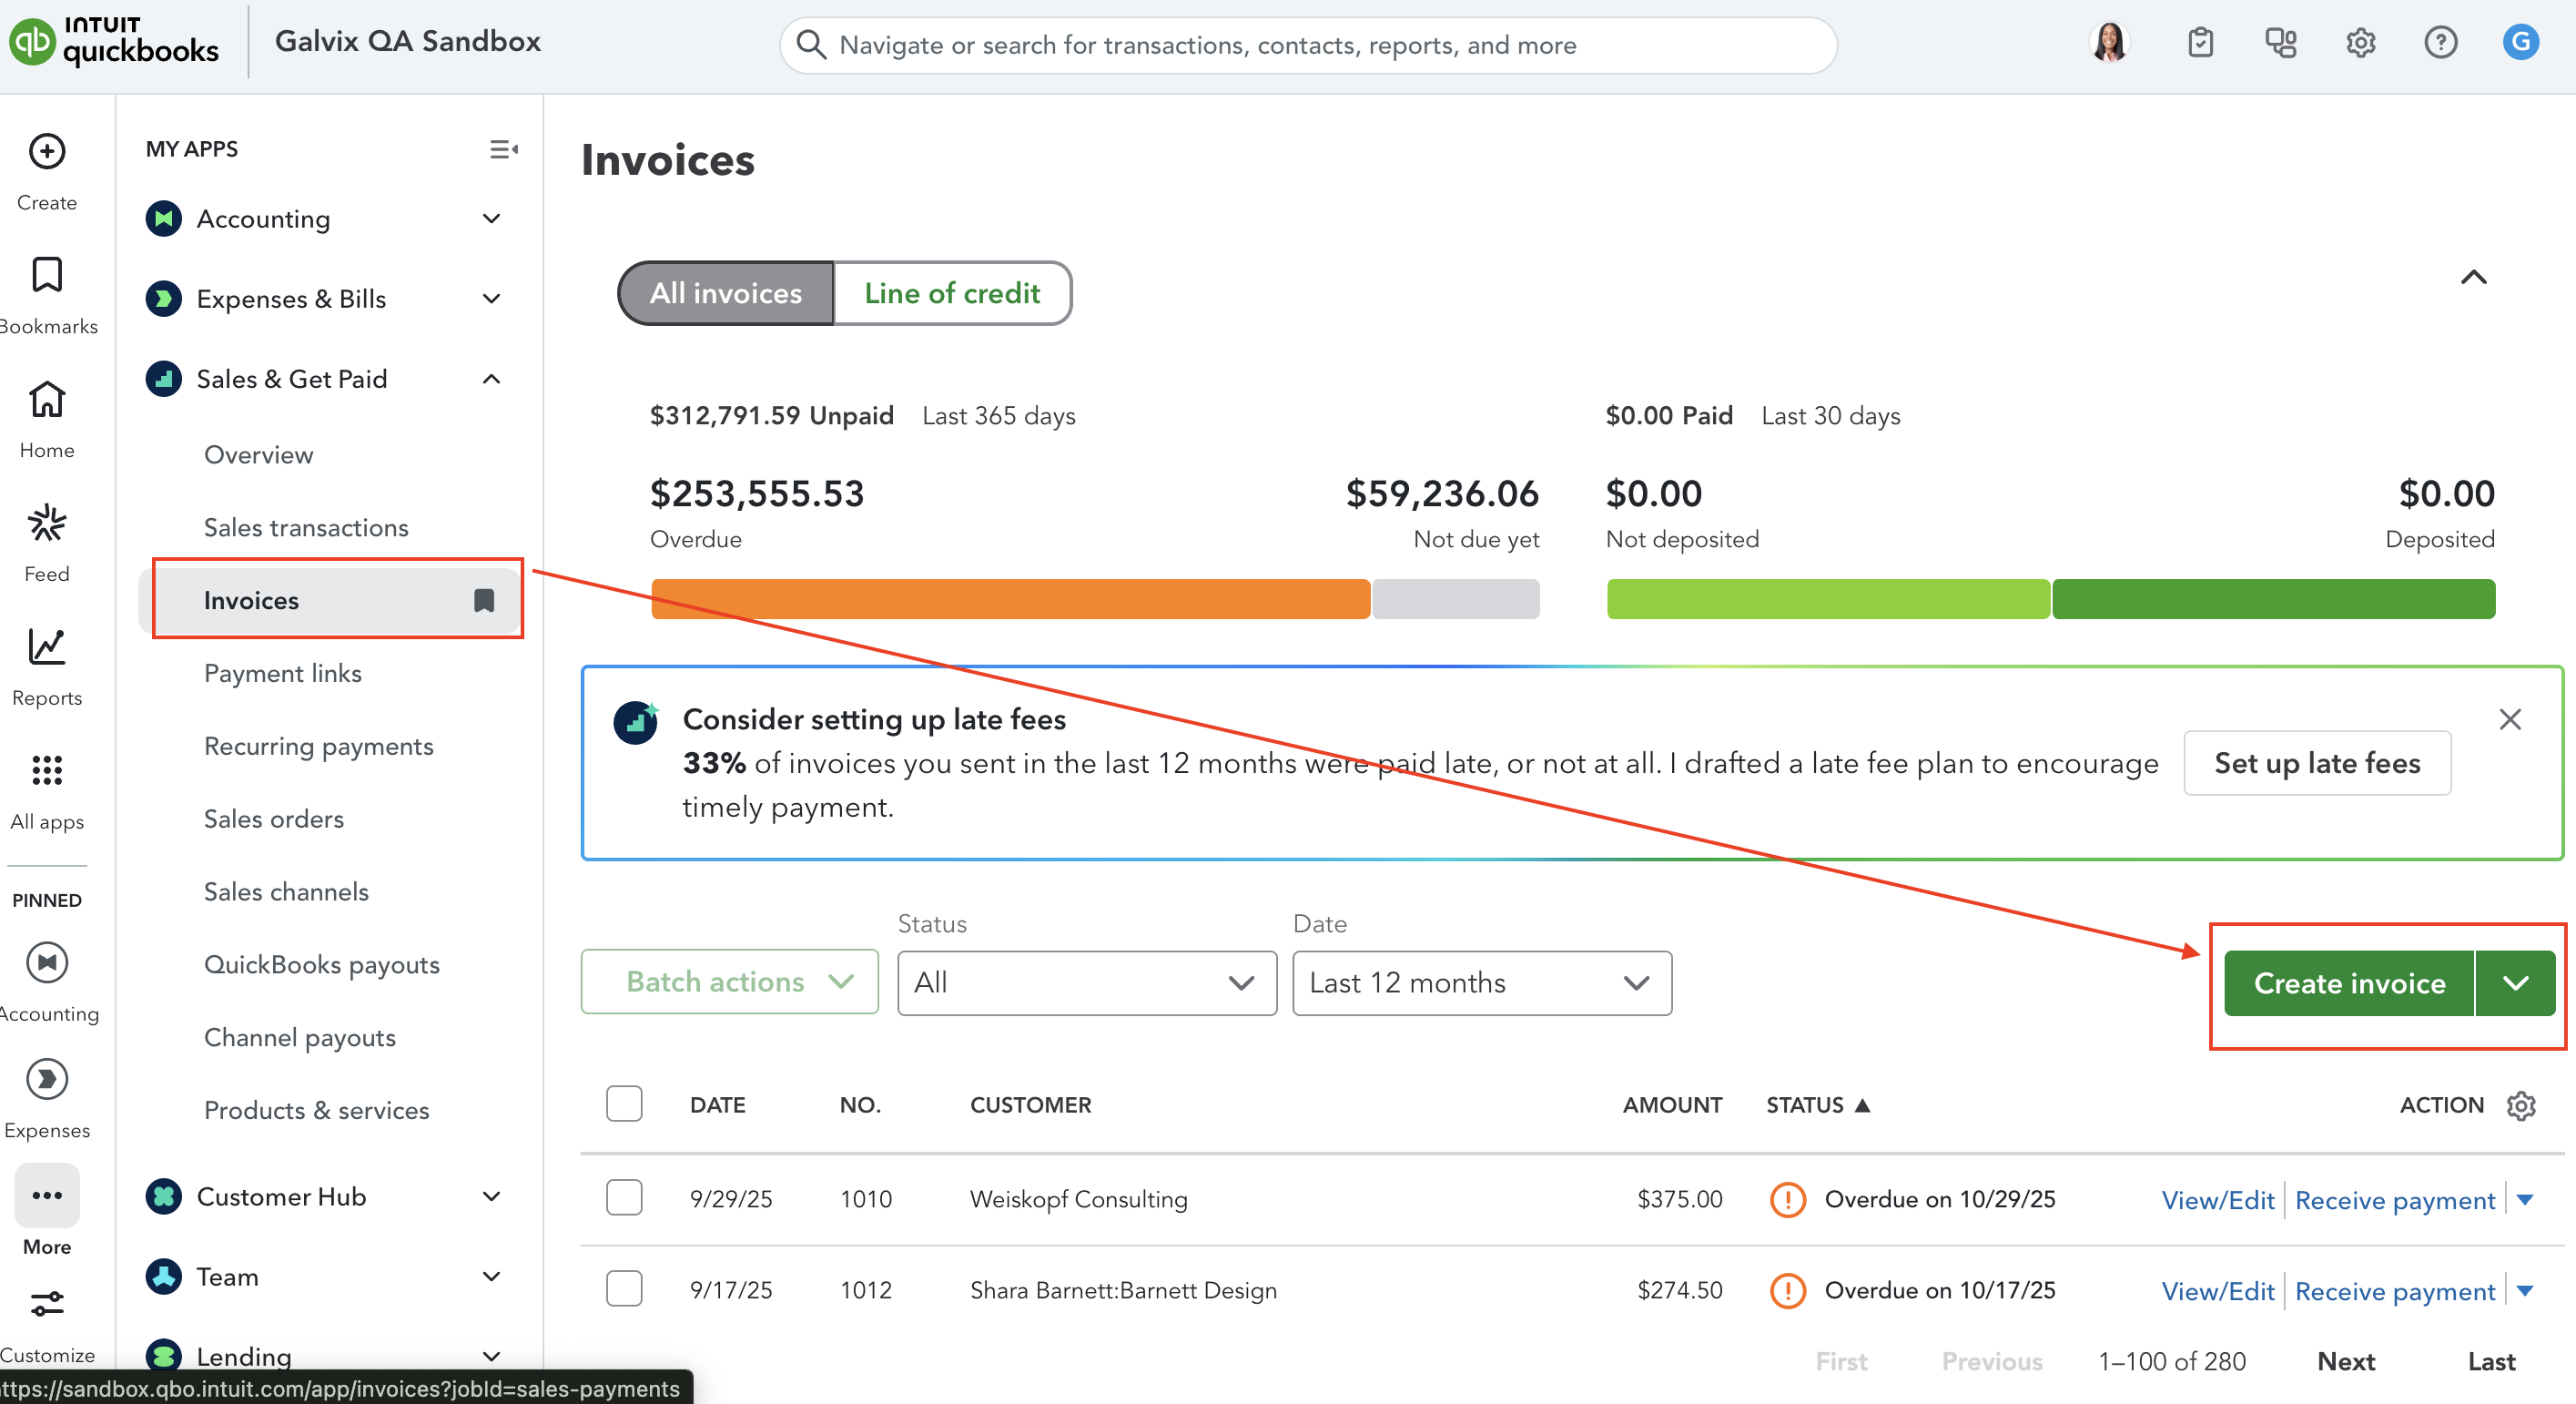
- Click on Invoices > Create Invoice to create a new invoice.
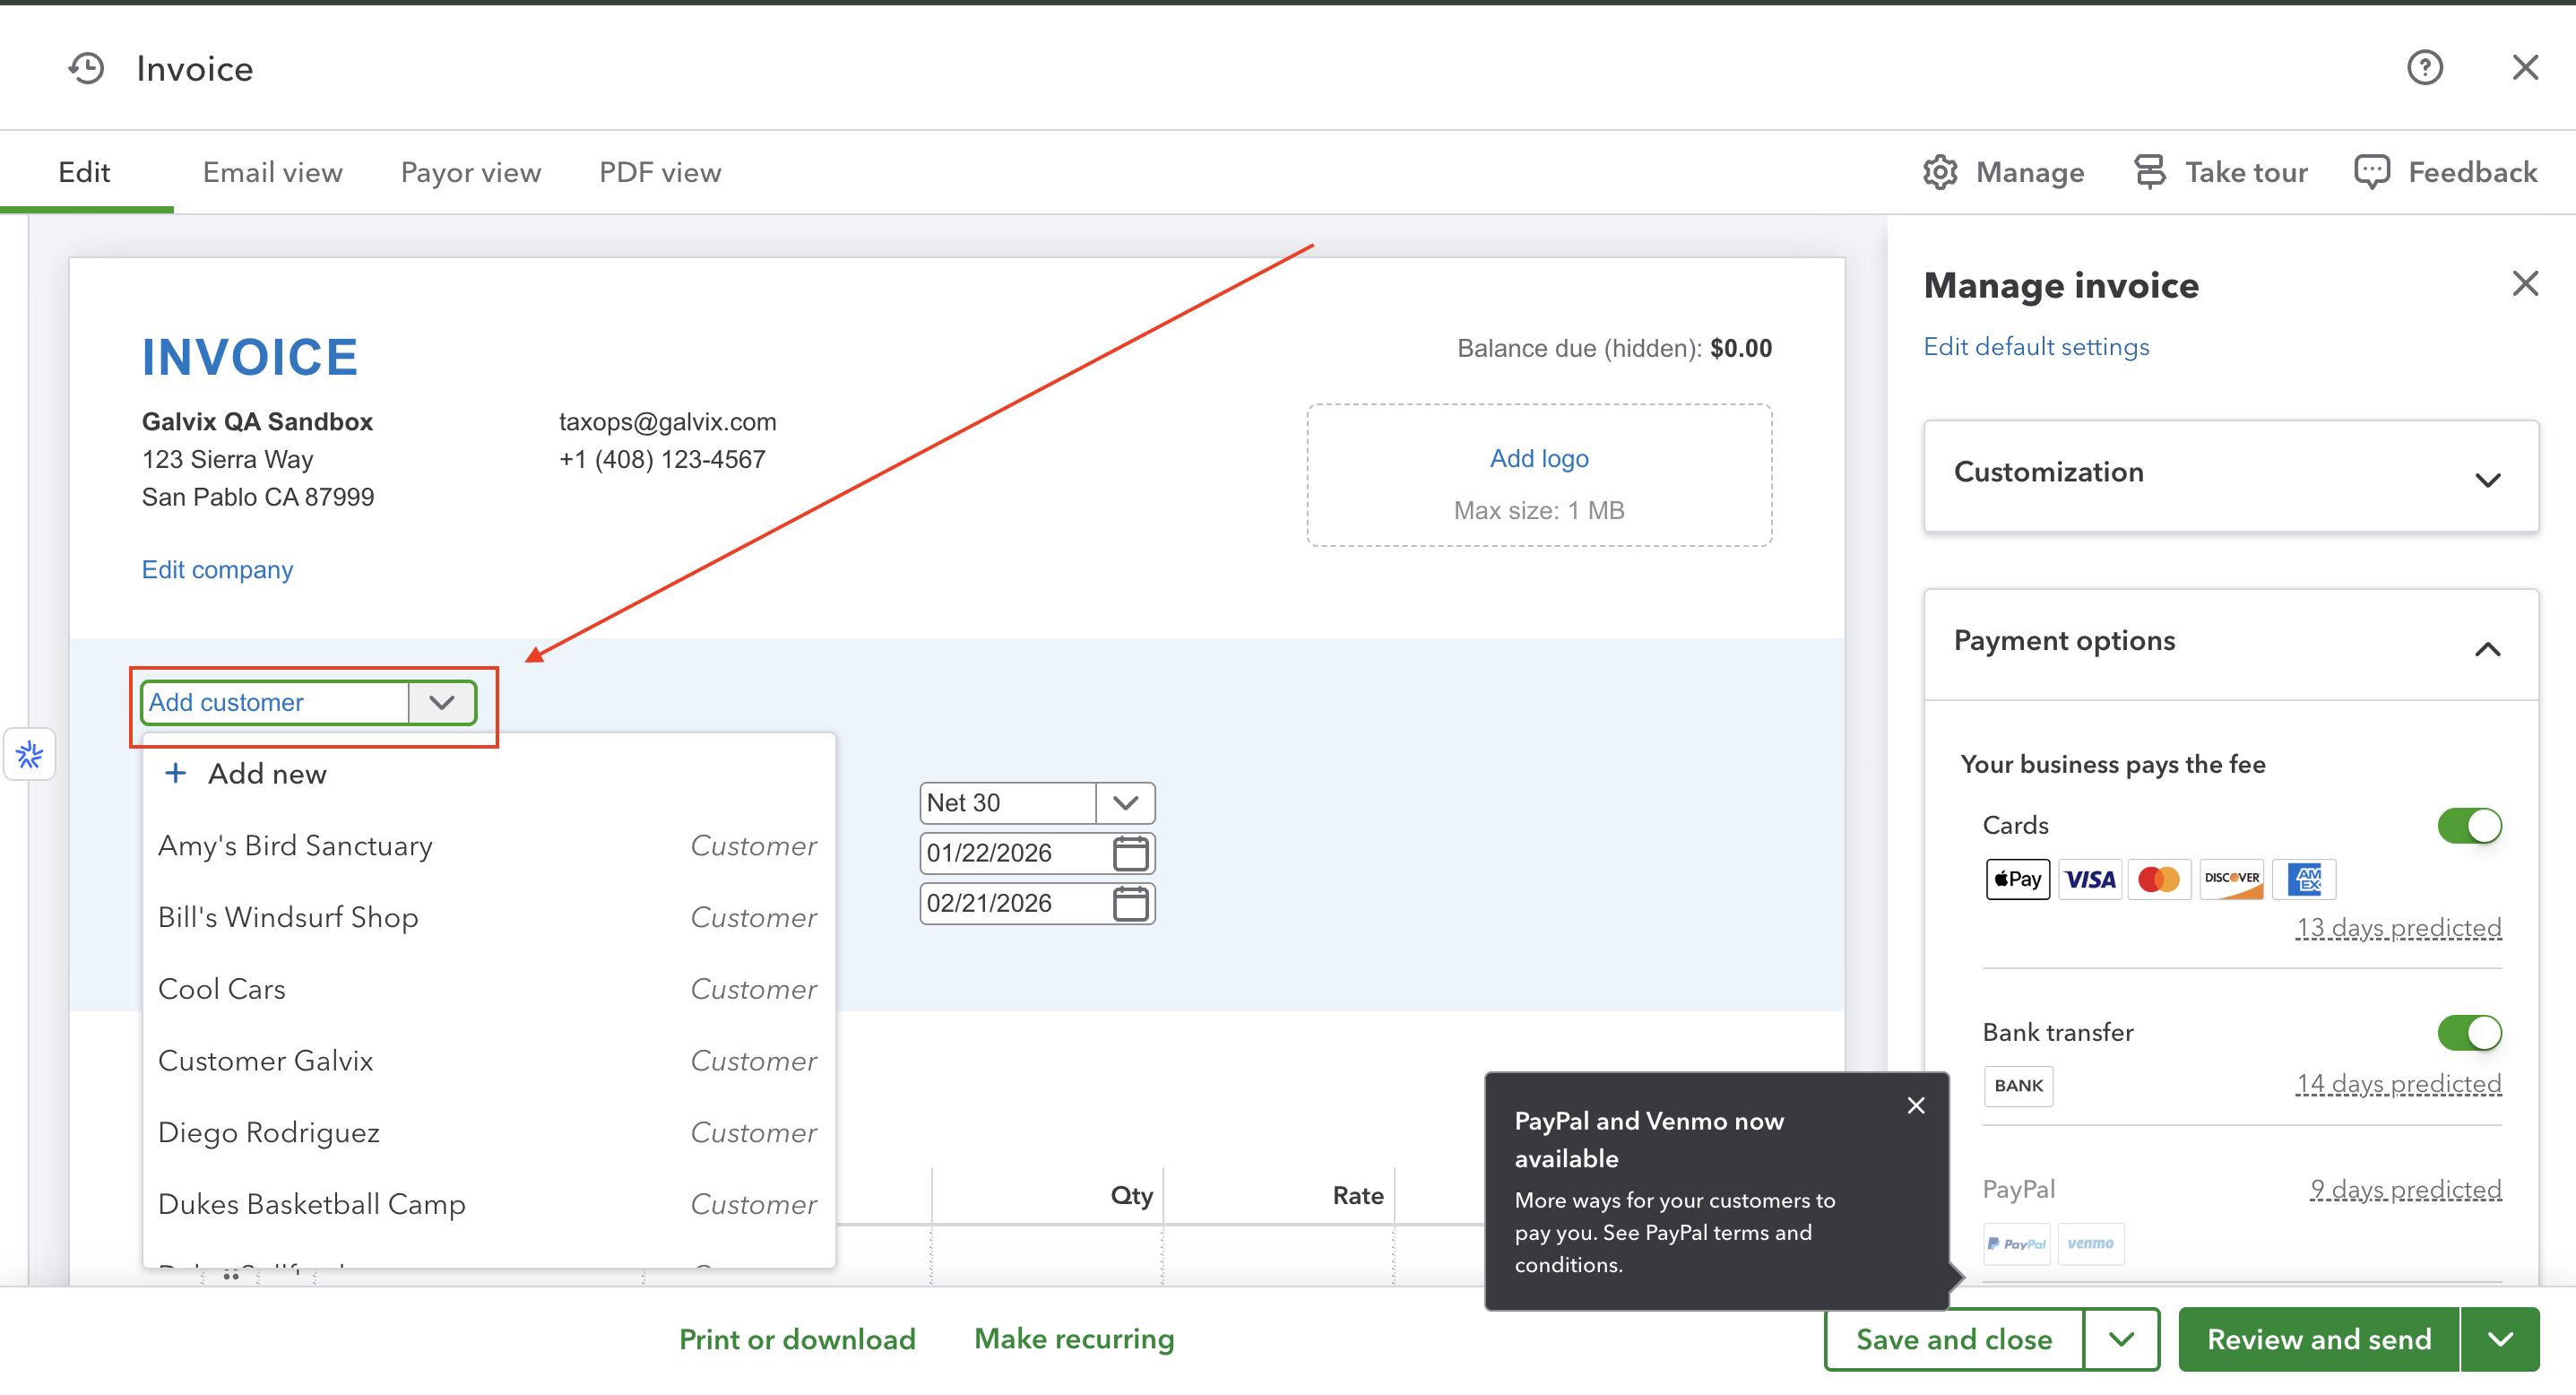
- Fill in the details as needed to create this invoice.
- Under Customer, select an existing customer or add a new one.
- Set the Invoice Date.
- In the Product/Service Table, select an existing product/service or add a new one.
- Add Shipping 'as a line item' if applicable.
Ensure your products and shipping charges are assigned to the correct tax categories in Galvix! Follow this guide to verify and set them up accurately.
- Click Save and Close to allow Galvix to calculate taxes.
- When you re-open the invoice, you will see that Sales tax is added to your invoice by Galvix.
- Once finalized (invoice status in QuickBooks is updated), the transaction will sync into Galvix and appear under the Transactions tab.
⚠️You may Void or Delete the test invoice to avoid tax implications.
⚠️ Note: Galvix does not sync transactions that are in draft status. Only finalized transactions are reflected and considered in return calculations.
Sales Tax Handling by Galvix in QBO
When you use Galvix as the tax determination engine for your invoices, it is important to first disable the QuickBooks Online (QBO) tax engine. This prevents conflicts between the two systems and avoids tax calculation errors.
(To learn how to disable the QBO tax engine, refer to our Configuration Help Doc.)
Where to find the sales tax amount in your Invoices?
Galvix automatically creates the following items in QuickBooks:
⚠️ These items are created only once and should not be modified.
Items Created Automatically by Galvix:
When Galvix is connected to QuickBooks, it automatically creates specific accounting items required to calculate and track sales tax accurately. These items ensure proper tax calculation, reporting, and compliance and no manual setup is required.
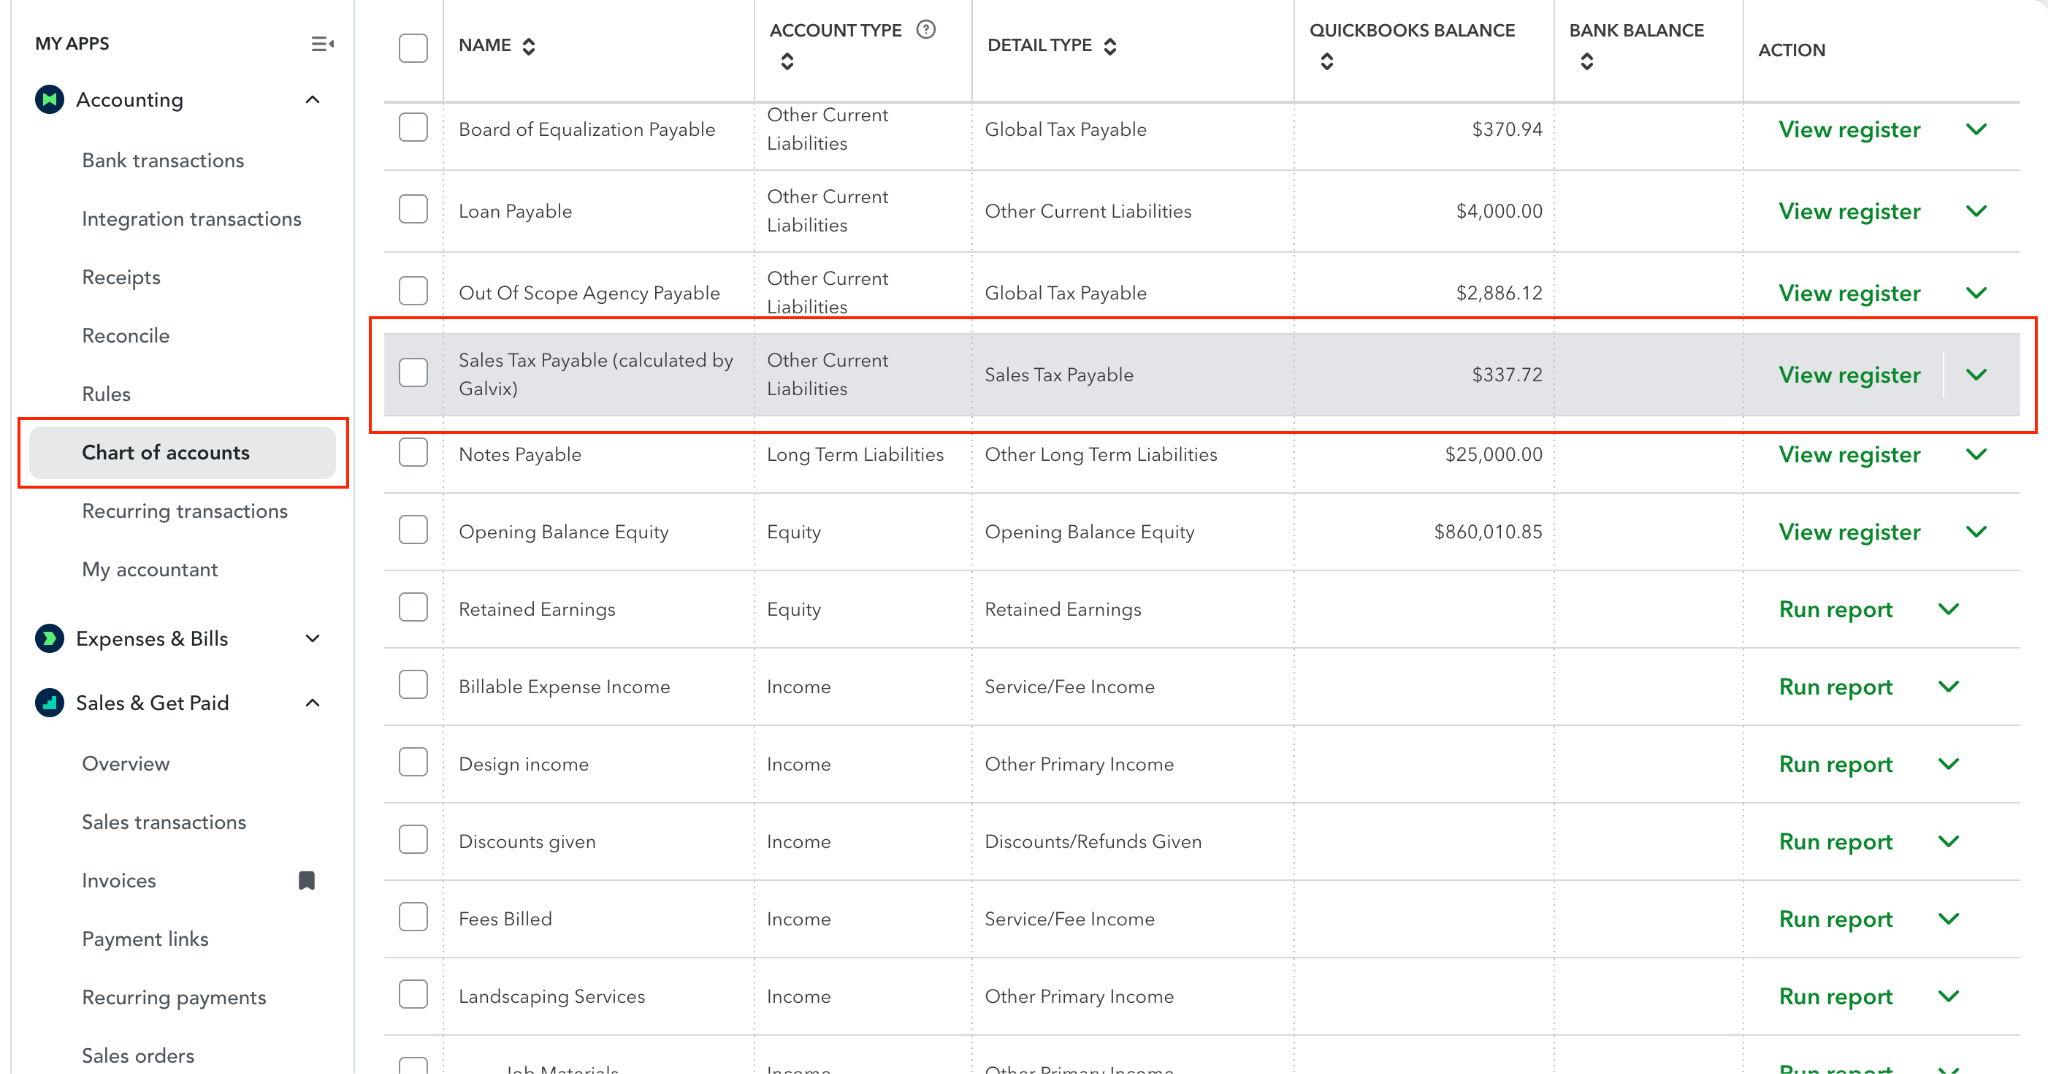
1. Sales Tax Payable Account
- Account Name: Sales Tax Payable (calculated by Galvix)
- Account Type: Other Current Liabilities
- Detail Type: Sales Tax Payable
- Purpose: Tracks all sales tax amounts calculated by Galvix.
Where to Find It
Accounting → Chart of Accounts
2. Sales Tax Service Item
- Item Name: Sales Tax (calculated by Galvix)
- Type: Service
- Income Account: Sales Tax Payable (calculated by Galvix)
- Sales Price: 0.00
- Taxable: Yes
- Description: Sales tax calculated by Galvix
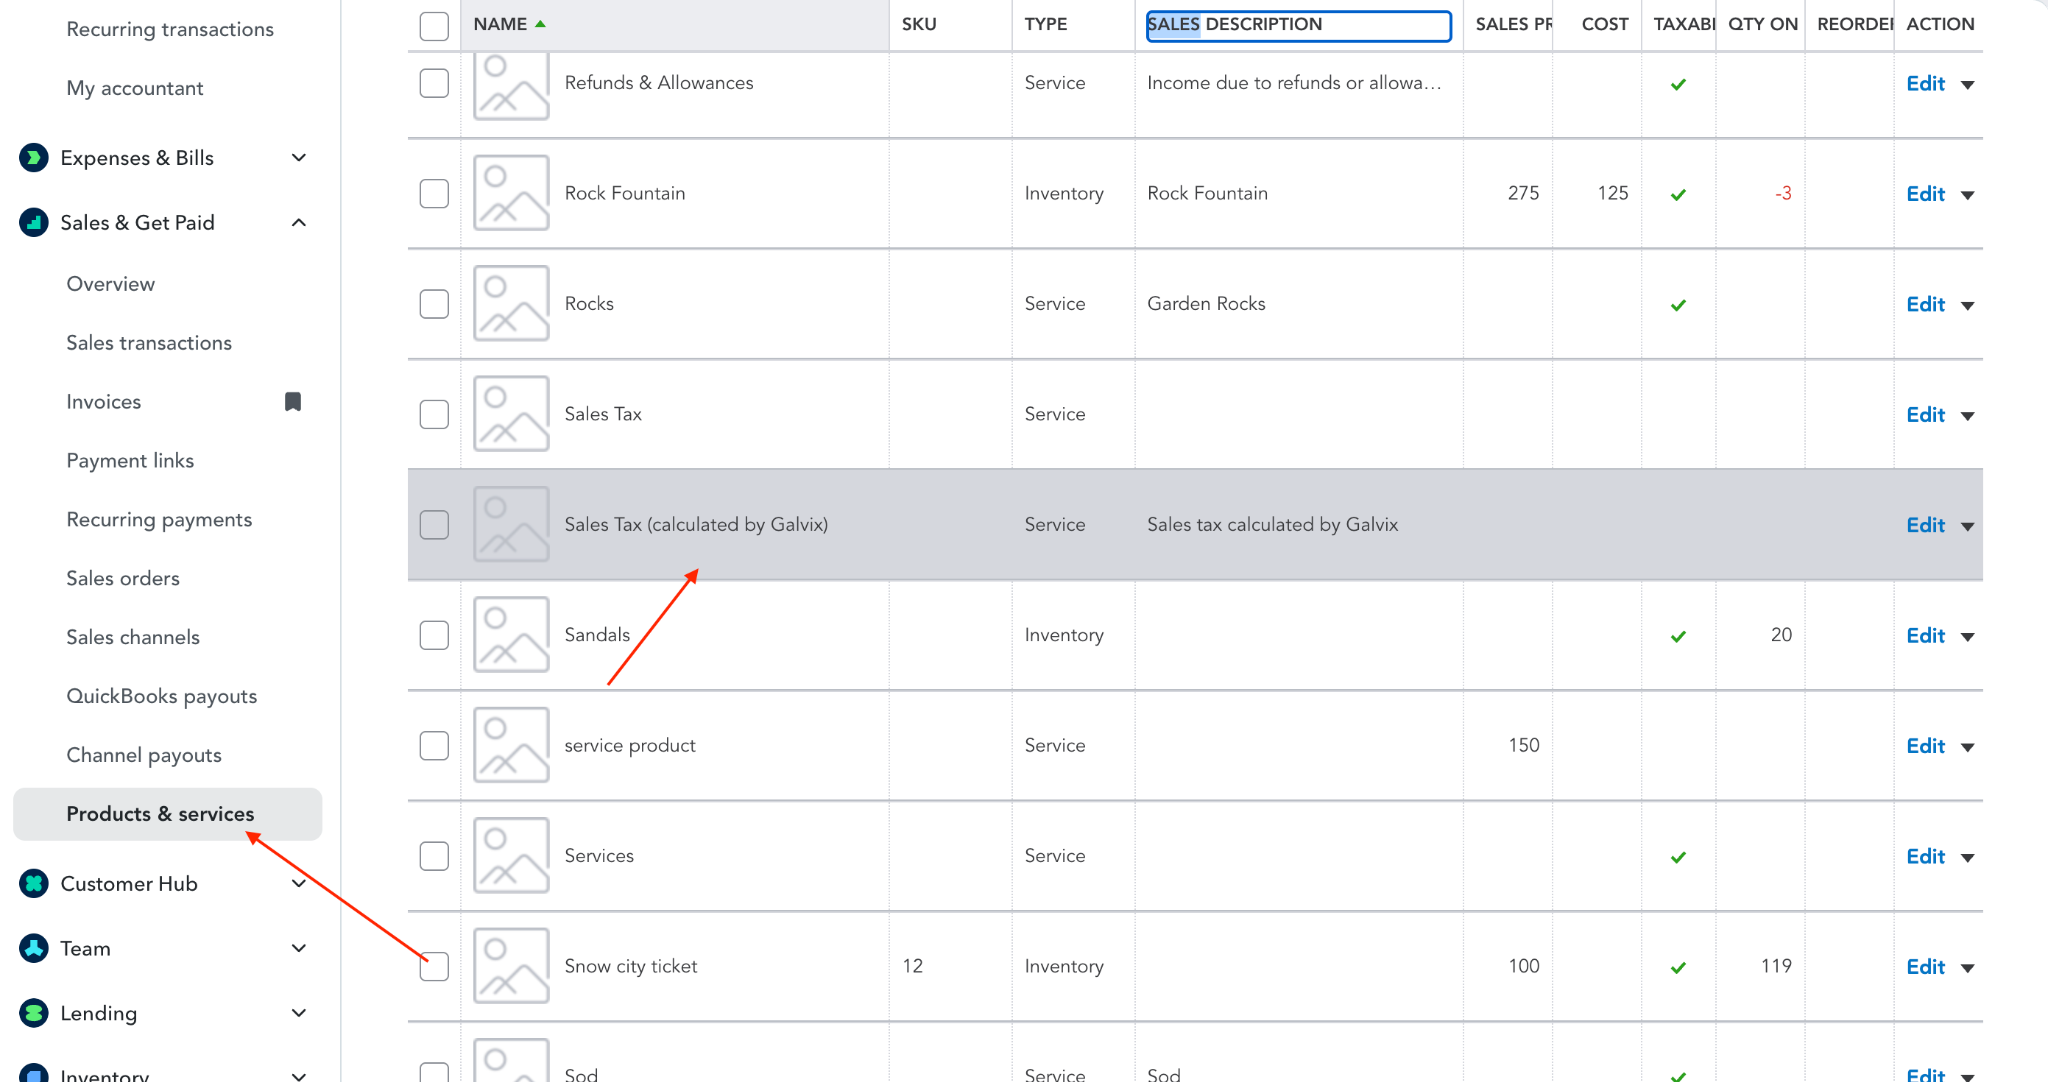
Important to Note:
- This item is used only for tax calculation.
- It is automatically added to invoices by Galvix.
- Do not manually add, edit, or delete this item.
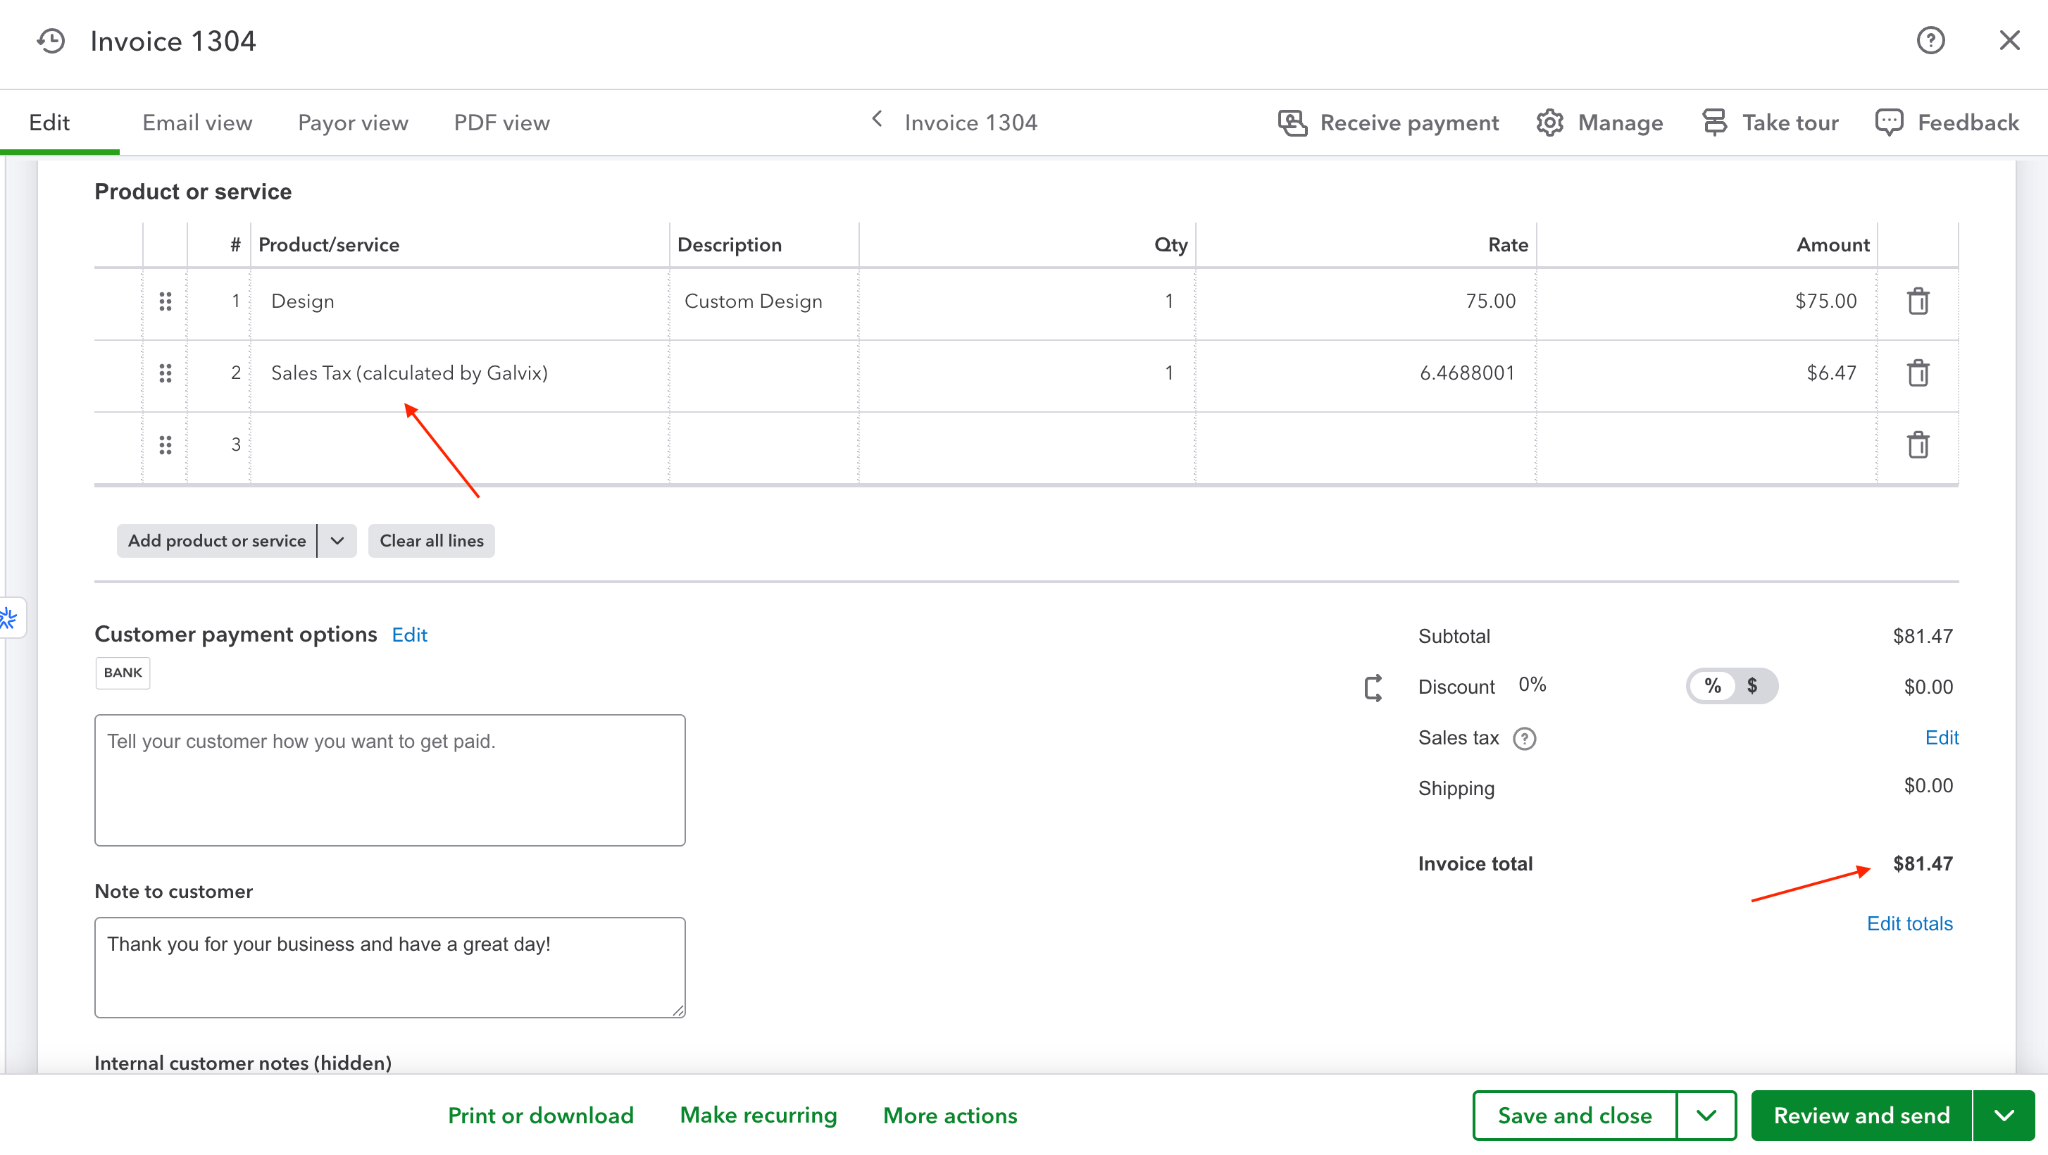
How Galvix Calculates Sales Tax
Galvix reviews each line item on the invoice
- If one or more items are taxable in Galvix:
- Determines the correct sales tax based on location and applicable tax rules
- Automatically adds a new line item to the invoice: Sales Tax (calculated by Galvix)
- The tax amount:
- Represents total tax for all taxable items
- Posts to the Sales Tax Payable account
- Appears even if the amount is $0.00
No Action is Required
All sales tax calculations and postings are handled automatically by Galvix. No manual adjustments are needed. After reviewing the invoice, you can proceed to print, send, or share it with your customer.
With these configurations, Galvix can accurately calculate sales taxes, generate return drafts, and keep your business sales tax compliant effortlessly!
Next Steps
Review our documentation on Best practices for invoicing in QuickBooks